Edited by Grace Xiong, Harry Lightsey, Brendan Striano - 7/1/2021
Indications/Contraindications
Mid-shaft humerus fractures (proximal humerus fractures and distal humerus fractures are immobilized differently).
Materials/positioning
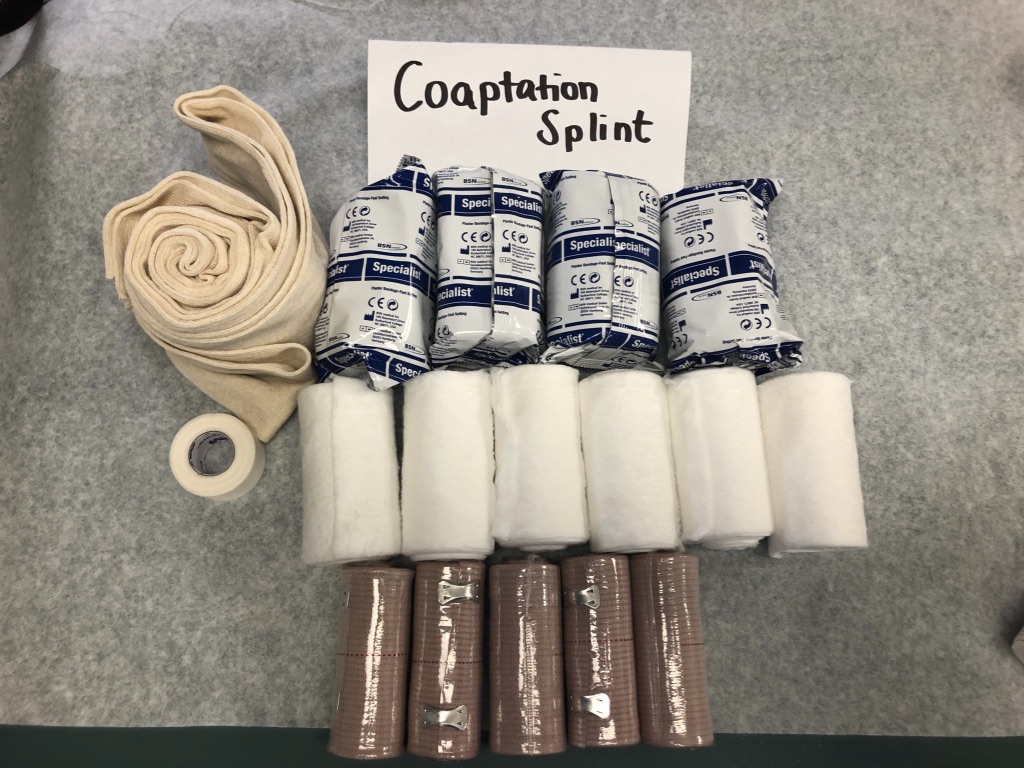
Materials:
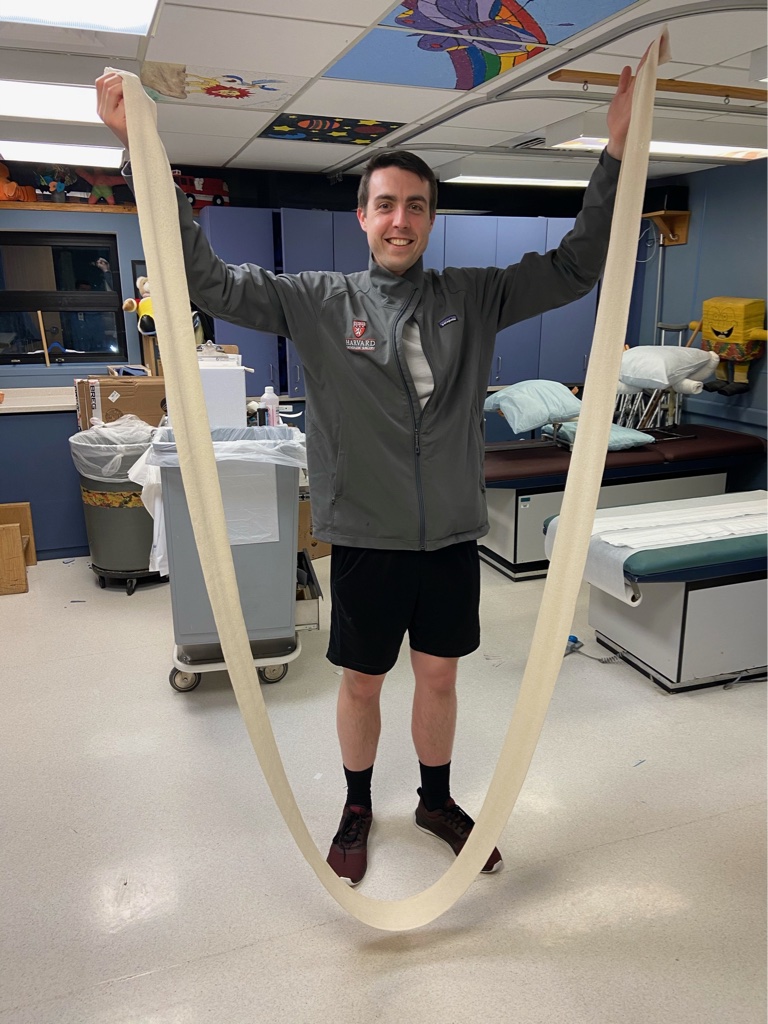
4” stockinette, at least 6 feet
4” plaster, 4 rolls
4” ACE wraps, 3 rolls
ABD pads
Positioning:
Usually in a stretcher, have the patient move all the way to your side with the rail down for the easiest access to the axilla.
Make sure patient’s hair is tied or out of the way, and the shoulder/arm is free of any clothing before starting.
Technique
Measure out splint:
On uninjured side, measure by tucking one end of webril into axilla, run the along the medial arm, around the elbow (flexed to 90 degrees), then along the lateral arm to up and over the acromion
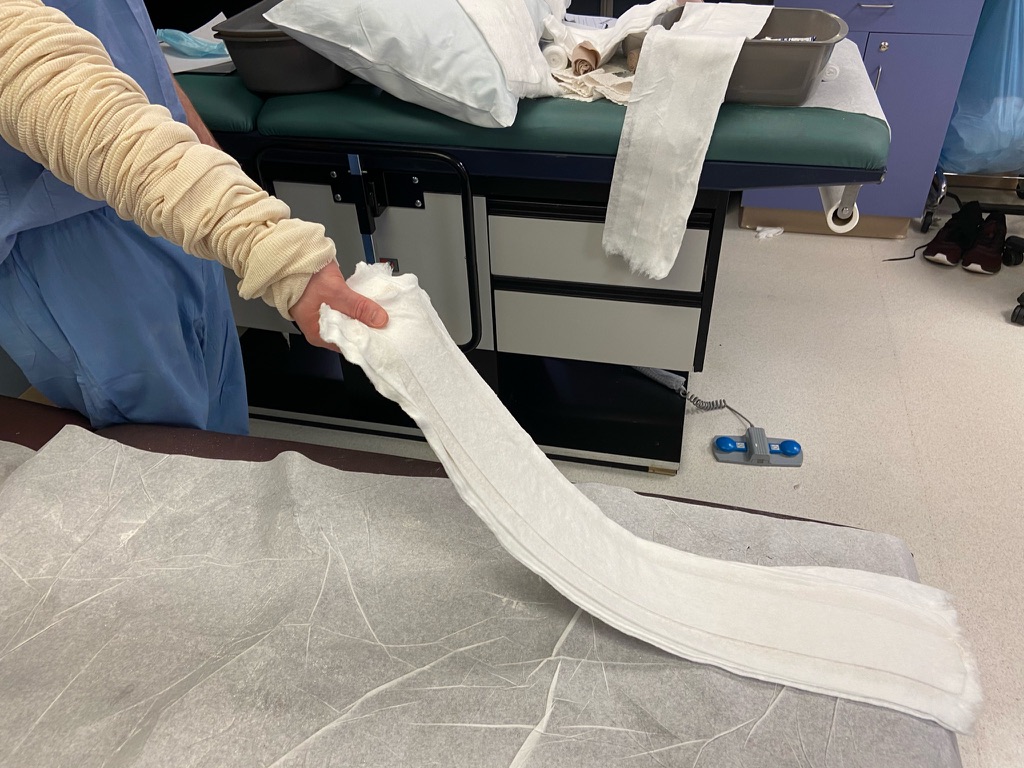
Splint preparation
10-12 layers of plaster and 5 layers of webril
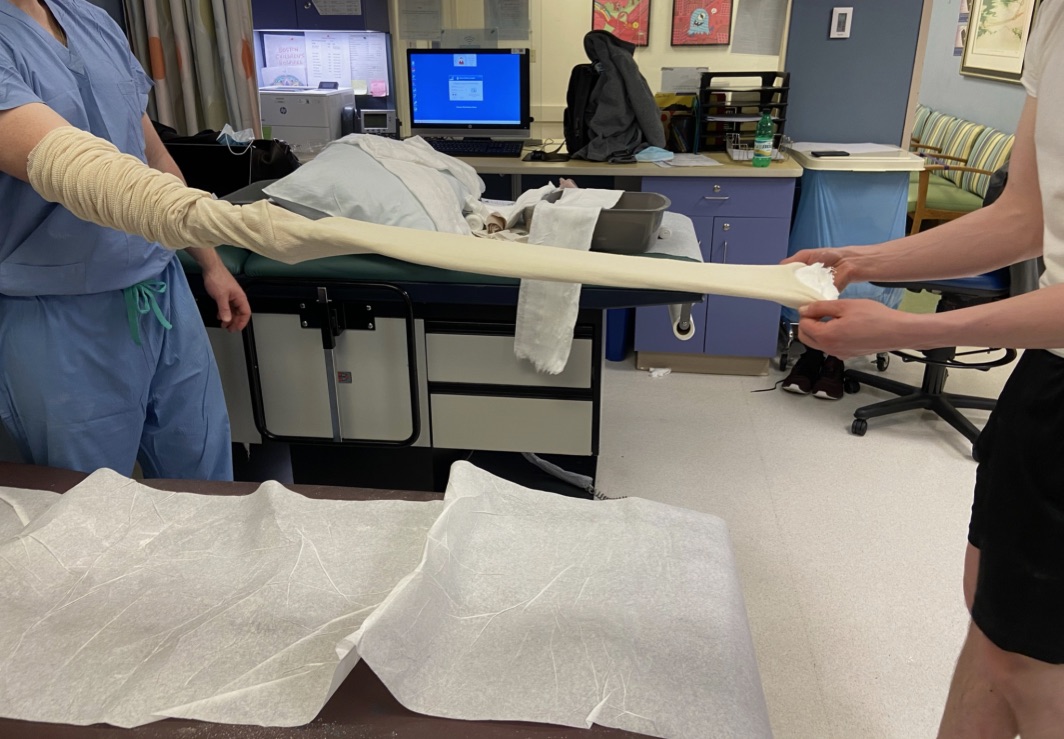
After wetting plaster, tunnel splint into stockinette. Split two ends of the stockinette to allow for four free strands.
Be careful to remember which side of the slab has the padding so that it can be placed against the patient correctly
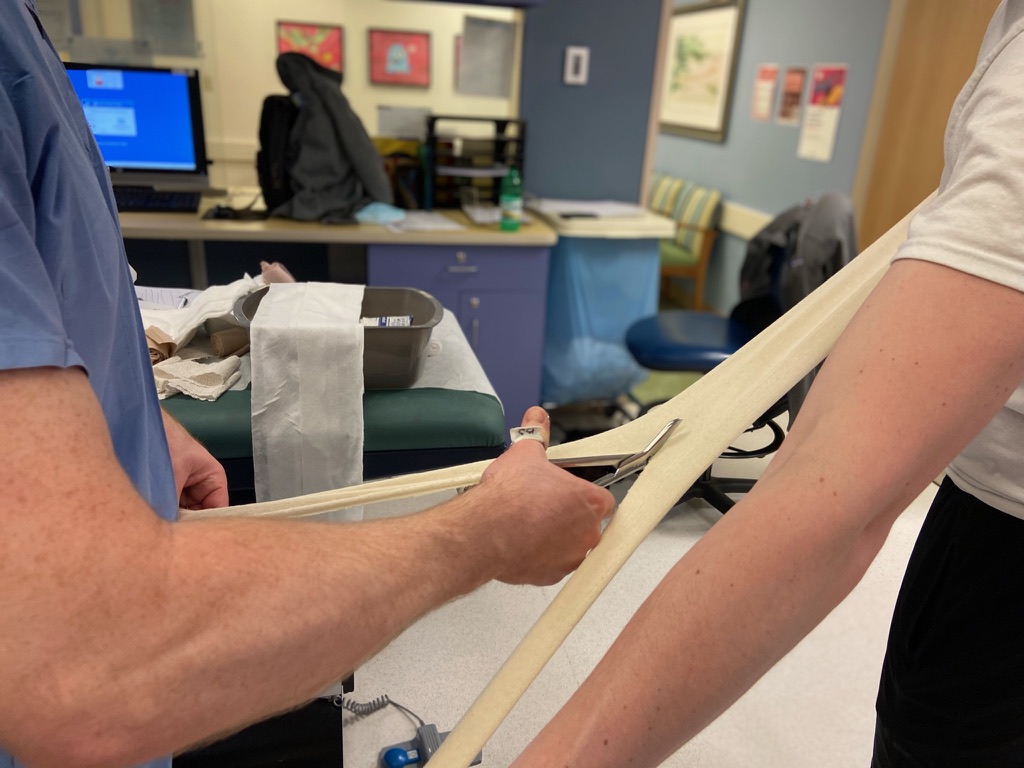
Splint application
Split one end of stockinette
With the apex of the free cut stockinette in the axilla, bring one leg of cut stockinette anterior and one posterior to the shoulder
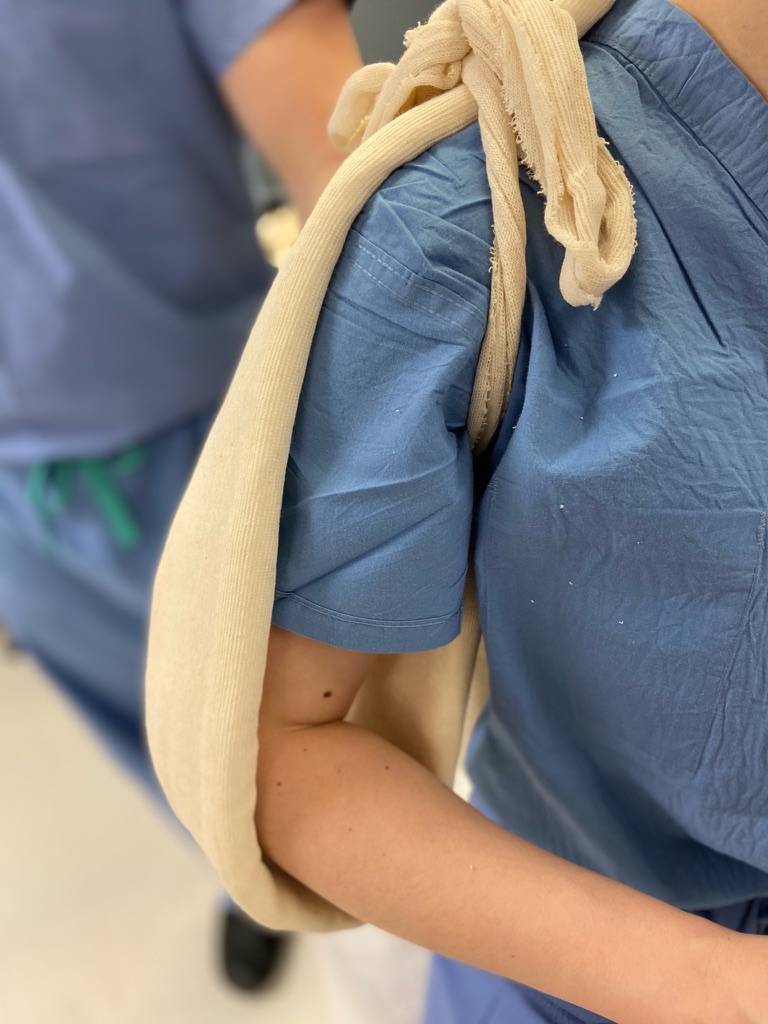
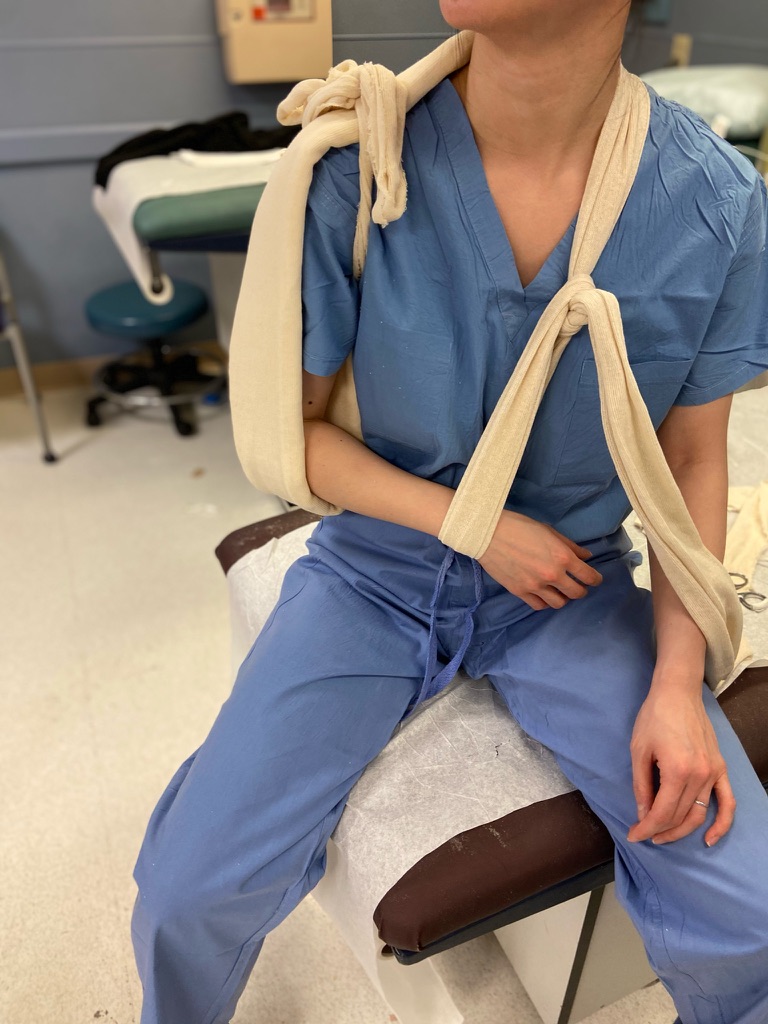
Take free end of the stockinette and wrap over shoulder and around neck. Wrap the stockinette around the ipsilateral wrist so that the arm is maintained in adduction
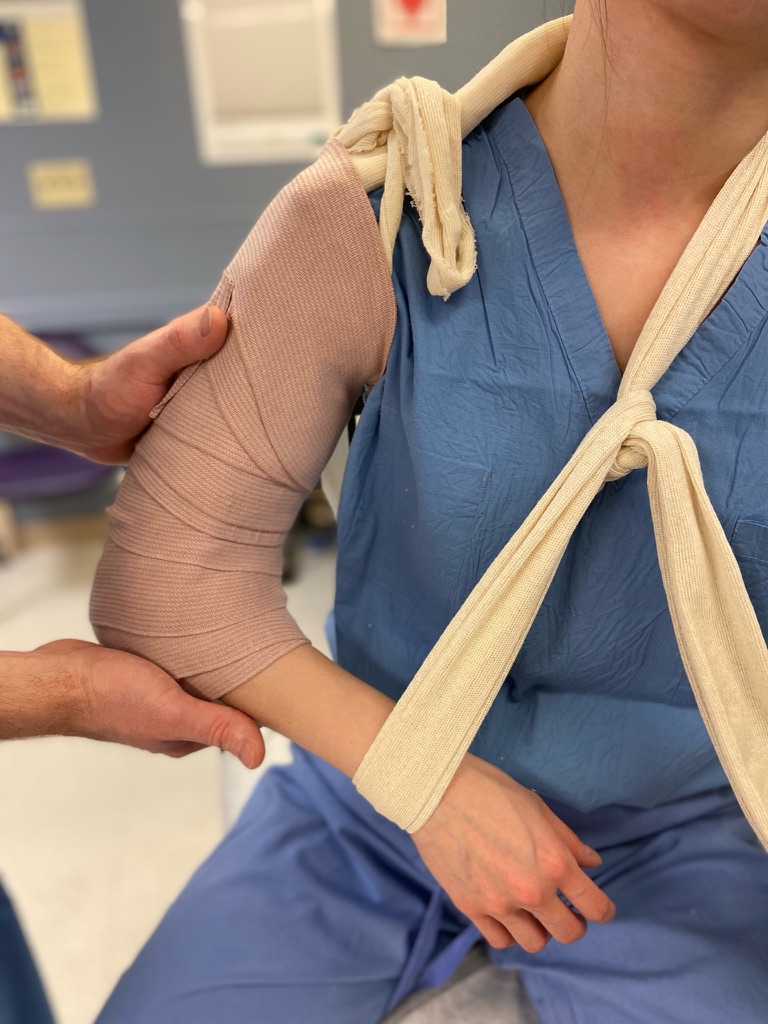
Wrap the arm with ACE bandage
Place ABD pads into the stockinette to provide padding at appropriate points around the neck and wrist
Molding:
Place a gentle mold on the lateral aspect of the splint to counter varus deforming forces
Avoid axial traction
Pearls & Pitfalls
Potential complications:
This is NOT a reduction. This is “placement of a splint with a gentle valgus mold." Document this accordingly
Patient may develop a radial nerve palsy after splinting. If this happens, take down your splint and assess for return of function