Edited by Hayley Daniell and Spud Olson - 7/1/2021
Indications/Contraindications
Indications
Concern for septic joint (effusion, warmth, pain with short-arc ROM, inability to bear weight; elevated inflammatory markers, signs/symptoms of sepsis, patient risk factors, including immunosuppression, uncontrolled diabetes, IVDU, bacteremia/endocarditis, RA, cirrhosis), confirmation of crystal arthropathy
Contraindications
Aspirating through cellulitis or active superficial infection/wound; prosthesis (confirm with attending)
Materials/positioning
Alcohol pad
Chlorhexidine or iodine prep
18-gauge needle x 2
10cc syringe
Lavender tube
Micro tube (usually black or red top glass tube, with NO other material inside)
Order requisition and labels for tubes
2x2” gauze
Bandaid
Positioning:
Supine in bed/stretcher, with foot dorsiflexed to 90 degrees
Technique
Confirm your neurovascular exam.
Preparation
Set aside supplies including opened gauze, opened bandaid, and opened chlorhexidine prep. Use alcohol prep pad for first-pass cleaning of aspiration site.
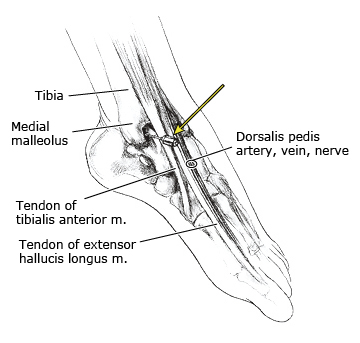
Palpate your landmarks and use the cap of the needle to mark where you are going to pierce the skin. You want to inject into the soft spot between the medial malleolus and the anterior tibialis tendon. Asking the patient to gently dorsiflex the ankle can help with palpation.
Clean the skin with the chlorhexidine scrub.
Aspiration
Using the 18-gauge needle, pierce the skin where you marked it.
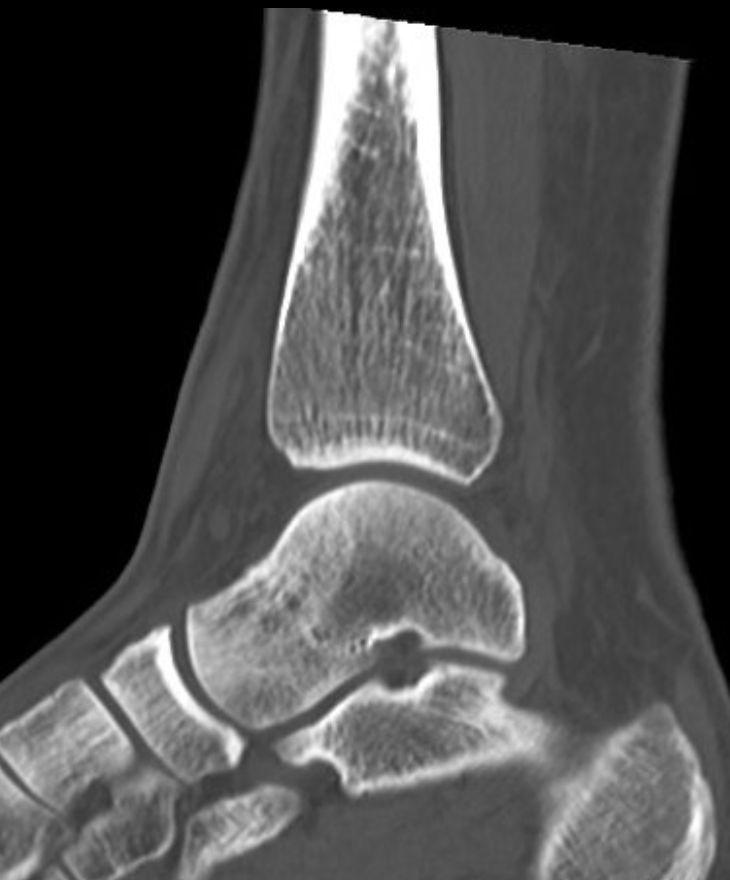
Angle the needle such that you will be able to slide over the talar dome and beneath the tibia.
You may be able to feel the needle as it pierces the joint capsule. Once you feel that you are in the joint, pull back on the depressor to aspirate joint fluid.
Withdraw your needle, clean the injection site with your 2x2 gauze and cover with a bandaid.
Note: When using the capped needle to mark the skin, it is helpful to angle it to get an idea of what angle you need to enter in order to slide between the dome of the talus and the tibia. The common error is matching the angle of the dorsum of the foot. When a patient is positioned on the stretcher, their ankle will naturally plantarflex. Therefore, be mindful that the tibial plafond is oriented perpendicular to the floor and this should be your angle.
Note: Alternatively you can inject through the anterolateral portal by identifying the interval between the peroneus tertius and extensor digitorum longus.
Sample Processing
Exchange 18-gauge needle on syringe for clean 18-gauge needle
Clean tops of tubes with alcohol swab
Distribute joint fluid sample into two tubes, starting with micro tube
Label tubes with patient stickers
Confirm your neurovascular exam.
Hand-deliver tubes to chemistry lab (lavender tube) and micro lab (red or black-top tube)
Pearls & Pitfalls
Potential complications:
Neurovascular injury (beware of DP and superficial peroneal nerves lateral to TA/EHL tendons)
Dry tap
Tips for efficiency:
Place orders for aspiration and have RN print order requisition and labels for tubes prior to starting procedure